
DISCLAIMER: The modifications described in the following text are for educational purposes only. In no way do I recommend that you apply these modifications to your own motorcycle. If you do choose to go ahead and modify your motorcycle based on the information in this document you will accept all responsibility for your own actions. The author(s) of this document, and host(s) providing it for you, accept no responsibility whatsoever. If you are unqualified to make any of the changes described herein but are bent on doing the modification, seek out a knowledgeable friend or professional mechanic for assistance.
Repairing the mountings on a TTR250 airbox
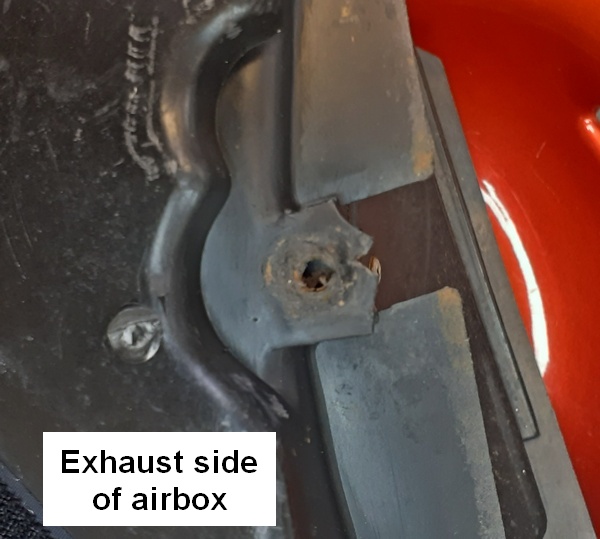
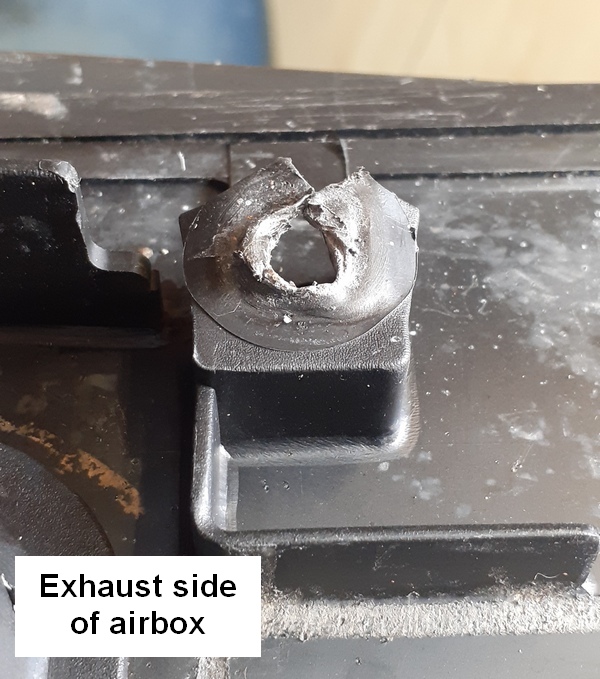
It is an unfortunate fact of motorcycle life, especially in the UK with its cold wet winters, that steel parts will rust, particularly nuts and bolts hidden from view. The three captive nuts and their bolts that hold the airbox to the frame are a case in point. If they have not been off for a while then there is a good possibility that the nuts will have rusted on and, no matter how careful you are, they will start to spin in their housings meaning that they have to be cut off or drilled out.
I have such a case. A perfectly serviceable airbox where all three nuts had to be cut out with consequent damage to their housings. See photos below.
This step-by-step guide takes you through my recommended repair from start to finish. I hope you find it useful!
Tools needed: 3mm drill bit and a Stanley knife (or similar), and a Posidrive screwdriver.
Part needed: - Three self-tapping 6.3mm x 38mm (14 x 1 1/2") pan head Pozidrive screws and matching plain washers - stainless steel or zinc plated - available from eBay and elsewhere costing very little - or just try your local hardware store.
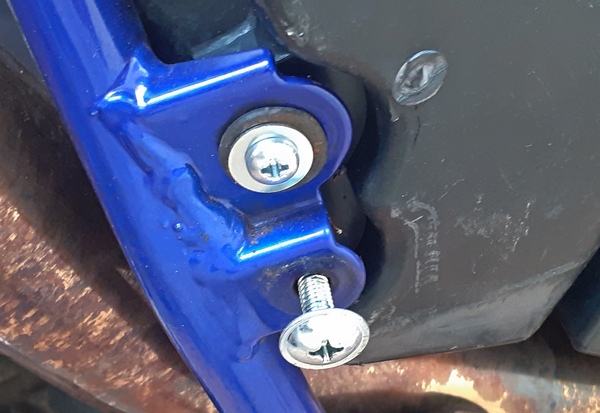
Drill through into the airbox using the original bolt holes as guides. If the airbox plastic has been damaged in removing the seized nuts then make sure it is trimmed using a Stanley knife or heatgun so that it presents a flat surface to the frame when re-fitting the airbox.
It is then simply a matter of screwing in the screws and washers. Just pinch them up until all three are fitted and then finally tighten. Remember you are screwing into relatively thin soft plastic so don't over tighten.
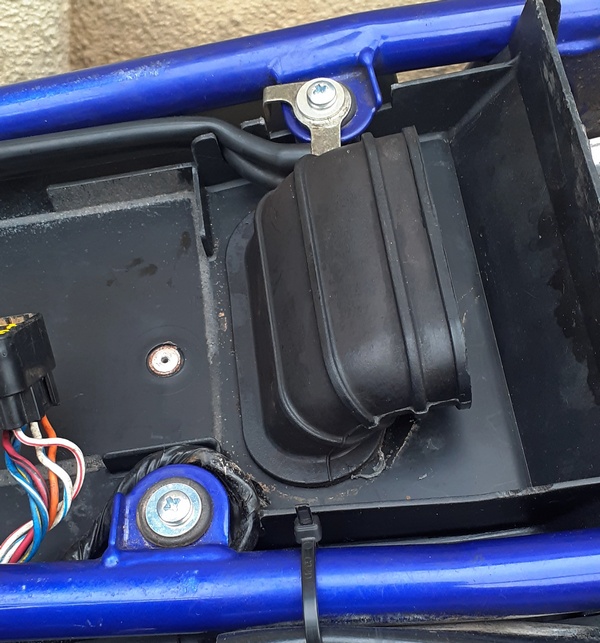
Having fitted this airbox using the screws it was rock solid and this method has saved another part from the scrap bin.
Job done!
Brian Sussex
Compiled by Brian Sussex, Devon, UK
http://www.ttr250.com/
- all you ever wanted to know
about TTR250s
http://ttr250.activeboard.com/
- the forum for TTR250 owners
http://www.totallyttrs.com/
- everything you need (possibly!) for
your TTR250
http://www.totallywrs.com/
-
for all your WR250R and WR250X after-market parts and accessories
References within this site to any specific commercial or non-commercial product, process, or service by trade name, trademark, manufacturer, private individual or otherwise does not constitute or imply an endorsement, recommendation, or favour by me.