
DISCLAIMER: The modifications described in the following text are for educational purposes only. In no way do I recommend that you apply these modifications to your own motorcycle. If you do choose to go ahead and modify your motorcycle based on the information in this document you will accept all responsibility for your own actions. The author(s) of this document, and host(s) providing it for you, accept no responsibility whatsoever. If you are unqualified to make any of the changes described herein but are bent on doing the modification, seek out a knowledgeable friend or professional mechanic for assistance.
Front brake master cylinder - replacing the seals.
NOTE: This is just a guide; it does not replace a service manual, general mechanical knowledge, specific motorcycle repair experience and good old common sense. With the proper tools, some general experience and this guide most users will be able to successfully check valve clearances and if required replace shims to adjust the valves to service specifications. If you have any problems then stop and ask questions on the forum, take pictures of your point of confusion and get your answers before you start.
General information:
When your brakes start to feel spongy, and it isn't improved by bleeding the system, then it is usually a sign that your master cylinder needs to be rebuilt. The seals can wear out and allow air into the brake line.
Tools required:
Philips and small plain screwdrivers
Circlip pliers
Ordinary or long-nosed pliers
10mm and 12mm spanners or sockets
Replacement parts (if needed!):
This guide includes how to replace the piston seals using an AllBalls kit available from Totally TTRs here
A genuine Yamaha kit is also available here which includes a piston but not the reservoir cap screws and copper banjo washers. it is however over twice the price of the AllBalls kit.

This diagram shows what's on the Yamaha parts fiche:

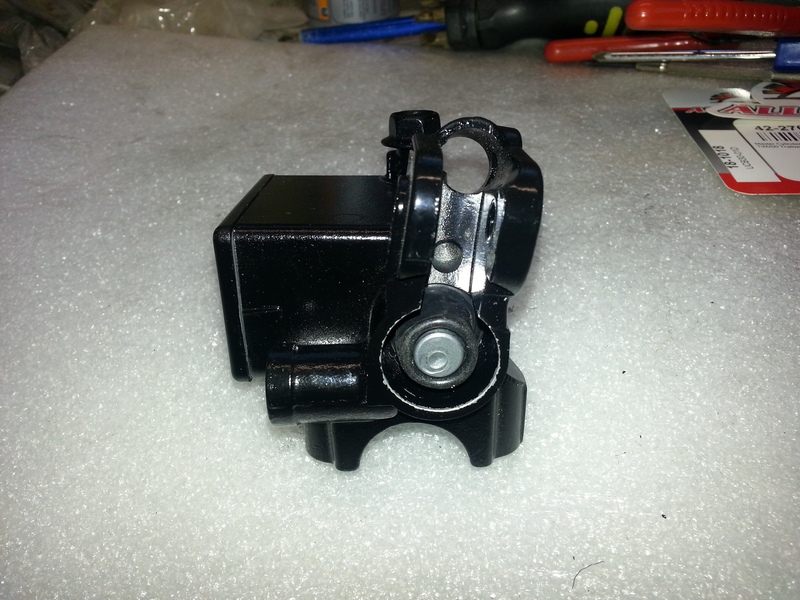
Start by removing the brake lever. Take out the pivot bolt which is threaded into the master cylinder but also has a 10mm nut underneath . As you pull off the lever, catch the spring that sits between the lever and cylinder casting! The rubber dust boot is then revealed. It is tucked into its housing quite well so loosen the master cylinder clamp bolts to give better access.
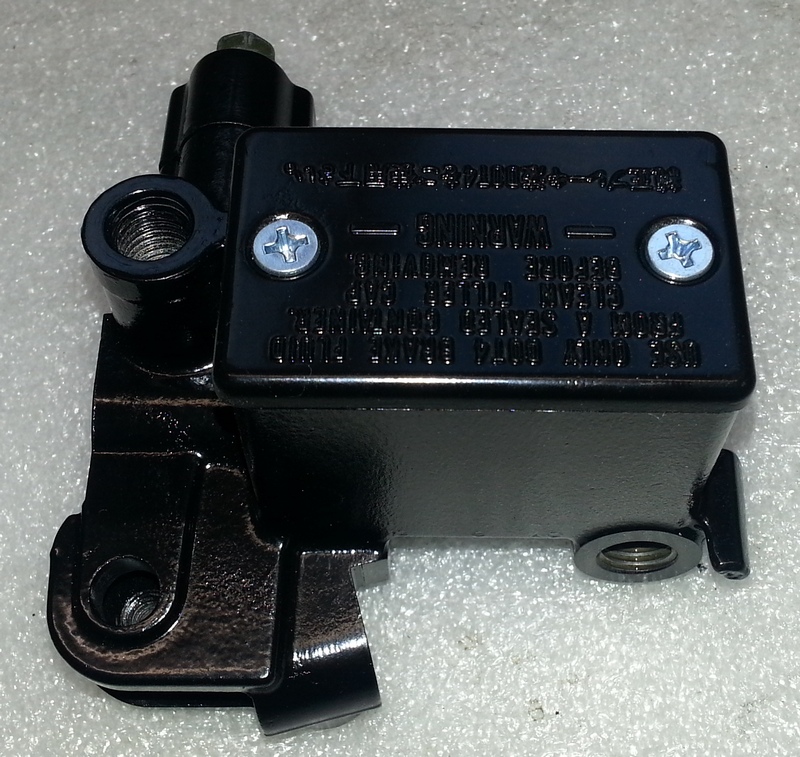
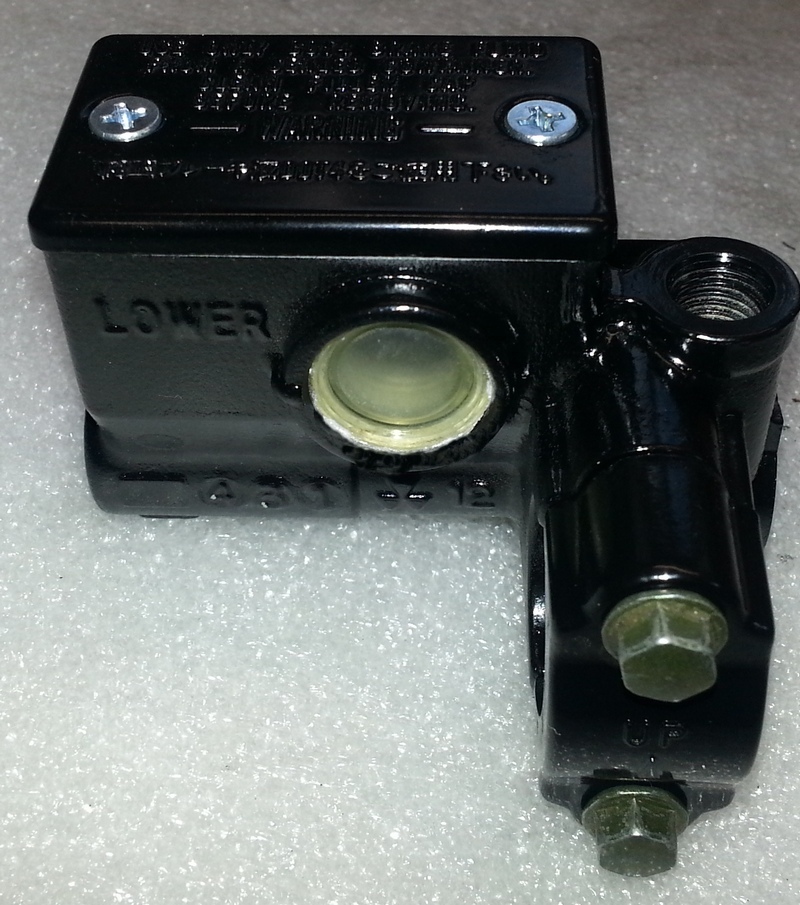
To make this guide easier to follow, I have used a master cylinder that has been removed from the TTR. It is possible to replace the seals leaving the brake line attached but have plenty of rags handy and a way of holding the loose master cylinder on the bars to prevent getting brake fluid everywhere!
The rubber boot will probably need pulling off with pliers as shown below or lever it out from the side using a plain screwdriver.

You can now see the circlip that holds the piston in place.

Put your finger on the piston and remove the circlip. The piston is under pressure from the spring so be careful it doesn't pop out. If necessary use a pick to help remove the circlip.

Once the circlip has been removed the piston can be removed. Mine had been left for a while without fluid so needed a bit of persuasion using a screwdriver to lever it out.

The piston assembly can then be taken out.

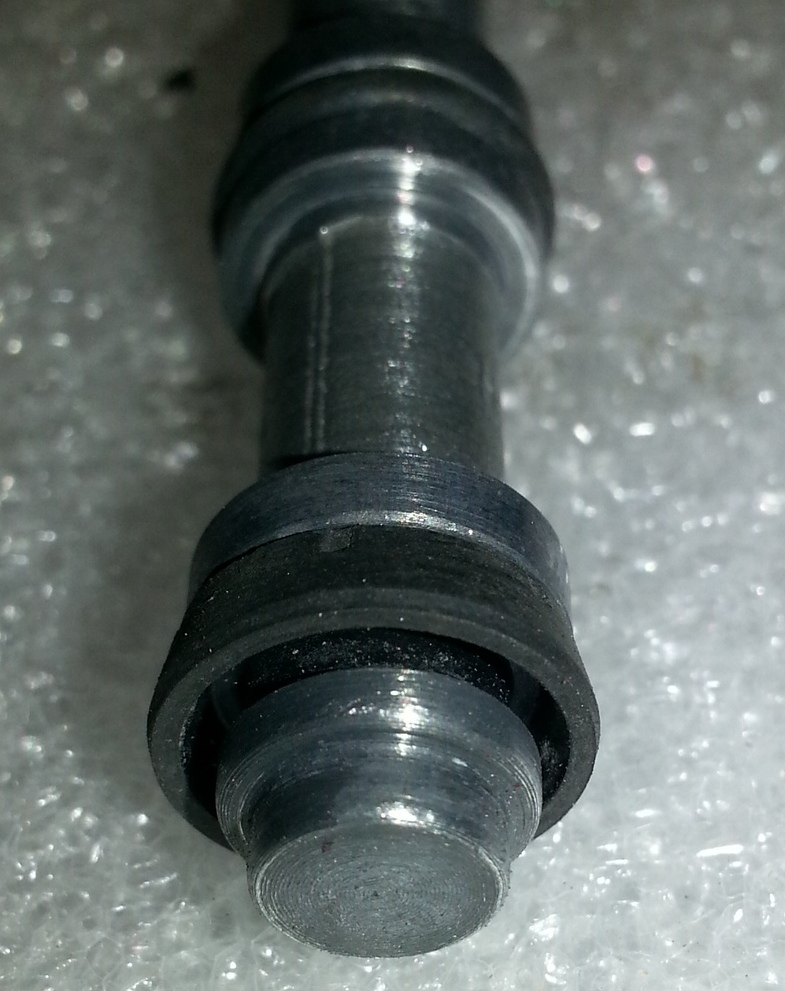
Remove the old washer, spring and seals and clean up the piston making sure there are no sharp edges on it. It is handy to have an old bottle cap or similar with some clean brake fluid in it so that you can use it to lube the piston it to help slide the seals down into their correct positions. You may need to use a small plain screwdriver to help the main seal on. Make sure that you install it the correct way around as shown in the photo below. Then slide on the O ring.
Now install the new spring and the piston is ready to go back in.

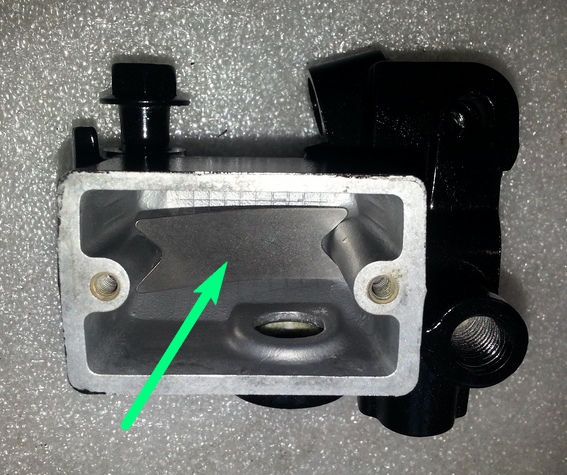
As I had my master cylinder off and drained, I took the opportunity to give it a thorough clean, making sure that the tiny bleed hole was clear by poking it through with some copper wire. The master cylinder was suffering from flaking paint and some light corrosion so I also rubbed it down and re-sprayed it with a black gloss aerosol.

Check the breather channel in the reservoir cap is clear.
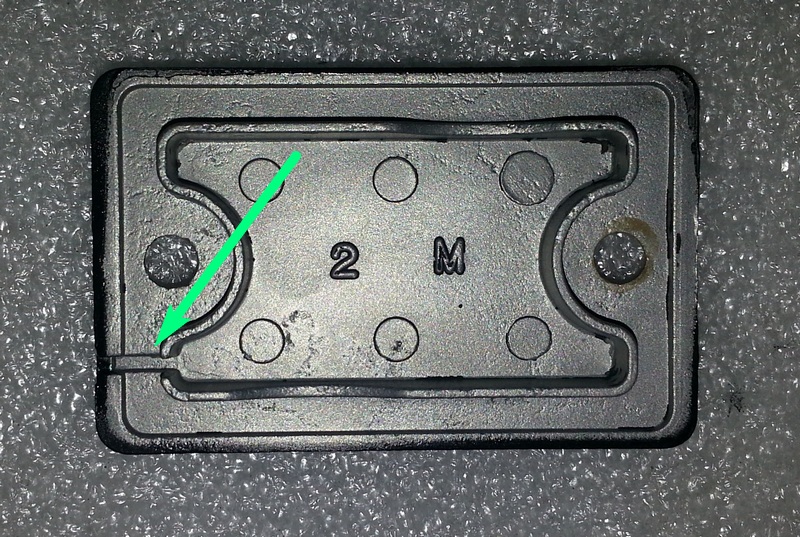
Refit the silver plate which I think is to prevent debris falling into the bleed hole. The master cylinder is then ready for the piston to be re-fitted.
Lube the piston seals again and slide on the washer and circlip and then fit the piston back into the master cylinder. Make sure that the piston moves up and down smoothly against its spring and then install the circlip in its groove. I push it down all the way around with a small screwdriver to make sure it is seated fully home.
Next, refit the rubber boot and, again, you will probably have to use the small screwdriver to get it in place.
Temporarily install the reservoir cover and rubber gasket and the master cylinder is ready to be fitted back on the handlebars.
After tightening the clamp bolts. attach the brake hose using the new copper washers on the banjo bolt and refit the clutch lever - not forgetting the spring! Tighten down the pivot bolt first and then fit the locking nut on the underside.
You now need to bleed the brakes. Bleeding is the process of removing any air from the system to get a firm pull on the lever. Ait compresses whereas fluid doesn't.
Bleeding the brakes
Bleeding brakes involves creating pressure in the brake lines, then releasing that pressure by opening the bleed nipple on the caliper to allow any air in the fluid to escape. Make sure that the brake fluid in the master cylinder never runs dry otherwise instead of removing air, the system will become entirely full of it!
This process is a lot easier if you can get someone to help you although if you are highly coordinated with very long arms you can probably manage it alone.
To bleed the brake, remove the reservoir cap and rubber gasket and fill the reservoir with new DOT 4 brake fluid. Keep the container handy for topping up the reservoir during the bleeding process. Don't be tempted to re-use any of the old fluid!
Put an 8mm spanner over the bleed nipple and fit a length of clear tubing with its end going into a catch bottle.
Grab the brake lever and pump it about five times.
Holding the brake lever down with one hand, open the bleed nipple with the spanner in your other hand (this is the awkward bit if doing the job on your own!), allowing fluid to run into the catch bottle. Close the bleed nipple.
Repeat about five times.
Continue checking the fluid level in the reservoir, adding brake fluid as needed.
When you are satisfied the brake lever feels solid, replace the reservoir gasket and top.
Remove the catch bottle and replace the rubber cap over the bleed nipple.
If any brake fluid has leaked onto the handlebar area or the disc and pads, clean it up.
Once the bleeding is complete you should have a nice firm lever with no sponginess.
If you are able to get hold of a vacuum pump then the job is made a whole lot easier, especially if you are doing it on your own. Basically the pump sucks fluid out of the bleed nipple on the caliper until no more air comes out and the job is done!
Another method is to use a syringe to force clean fluid up through the system from the bleed nipple. I haven't tried this but know that some owners find this method effective.
Sometimes the system can be very obstinate and it seems impossible to get a firm lever. In this case, remove the caliper (two bolts) from the disc and the hose from the fork (clamp with 2 Allen bolts) and drop it down until you get rid of the loop of hose up by the handlebars. This is so that no air can stay trapped in that loop. Then cable tie the brake lever back against the handlebars overnight. Hopefully any residual air can work its way up and out of the system and leave you with a nice firm lever!
Job done!
Brian Sussex
Compiled by Brian Sussex, Devon, UK
http://www.totallyttrs.com/
- everything you need (possibly!) for
your TTR250
http://www.ttr250.com/
- all you ever wanted to know
about TTR250s
http://ttr250.activeboard.com/
- the forum for TTR250 owners
http://www.totallywrs.com/
-
for all your WR250R and WR250X after-market parts and accessories
Reference within this site to any specific commercial or non-commercial product, process, or service by trade name, trademark, manufacturer, private individual or otherwise does not constitute or imply an endorsement, recommendation, or favour by Brian Sussex or Totally TTRs